Solar Roof Install: A Personal Goal
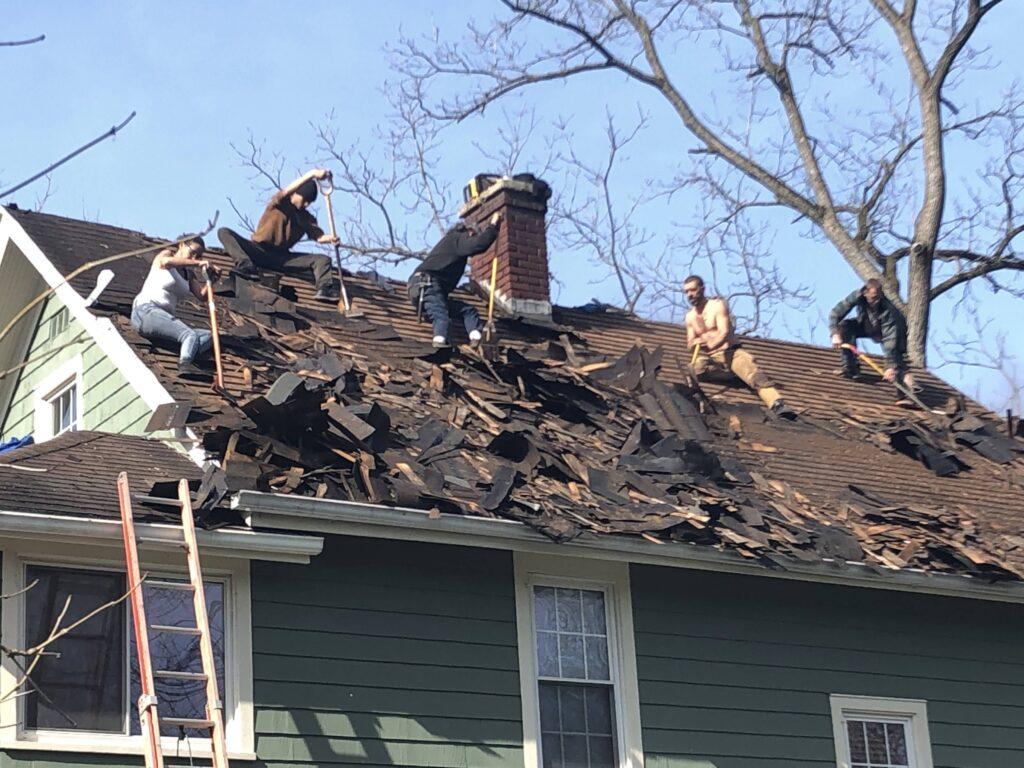
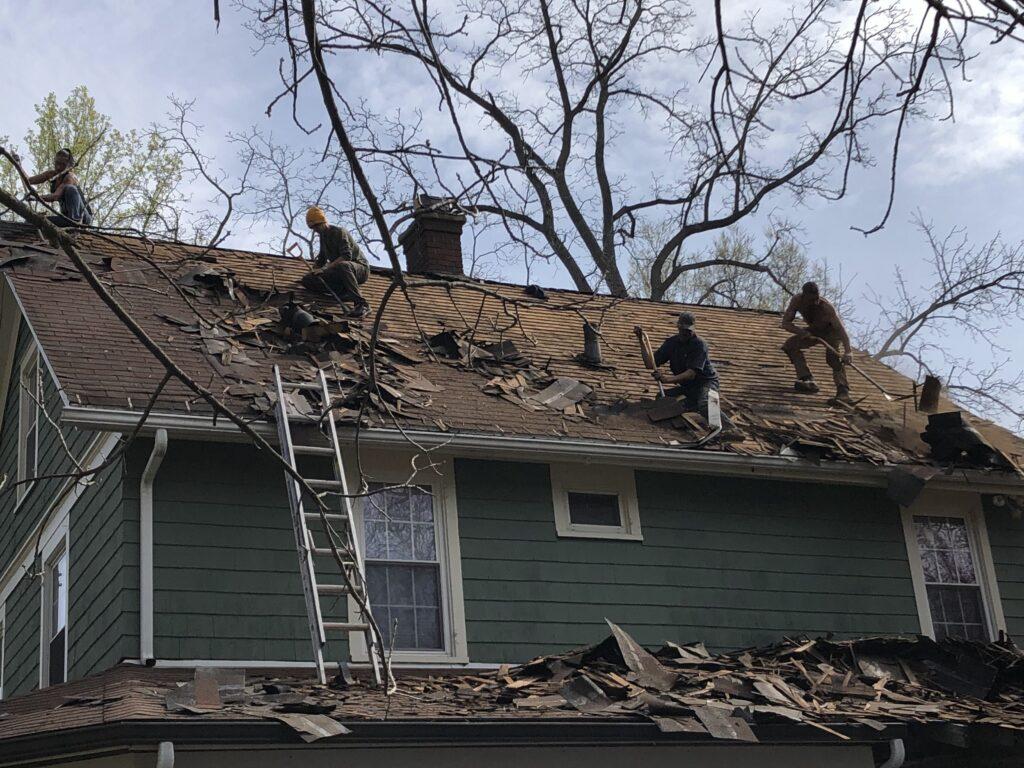
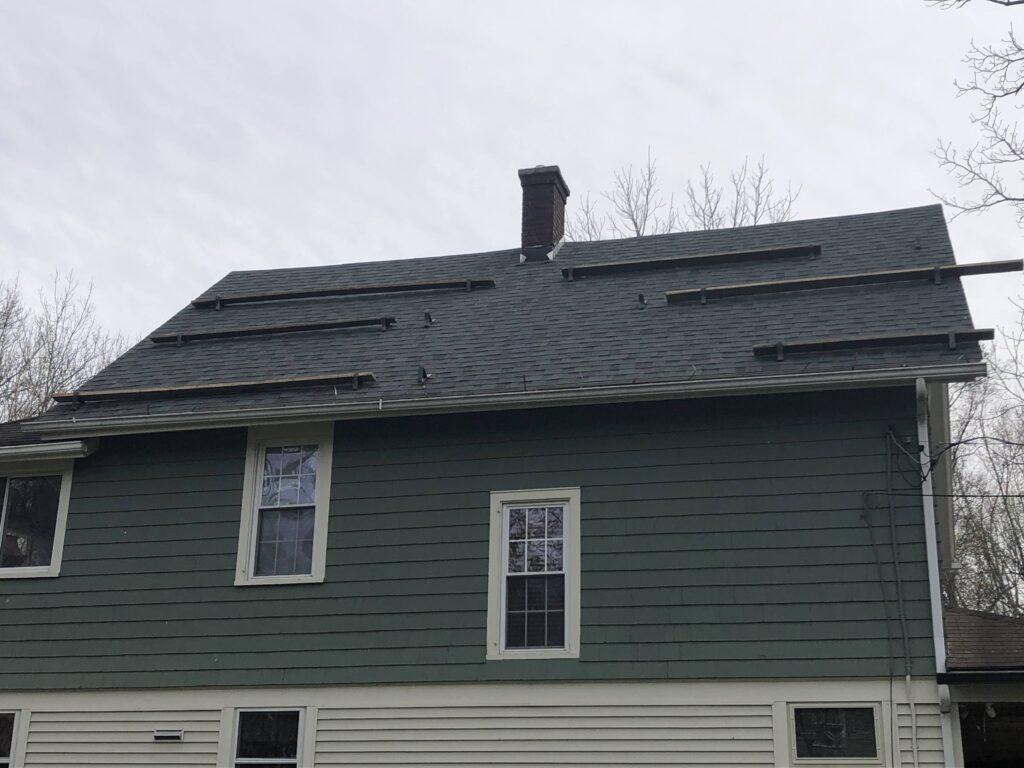
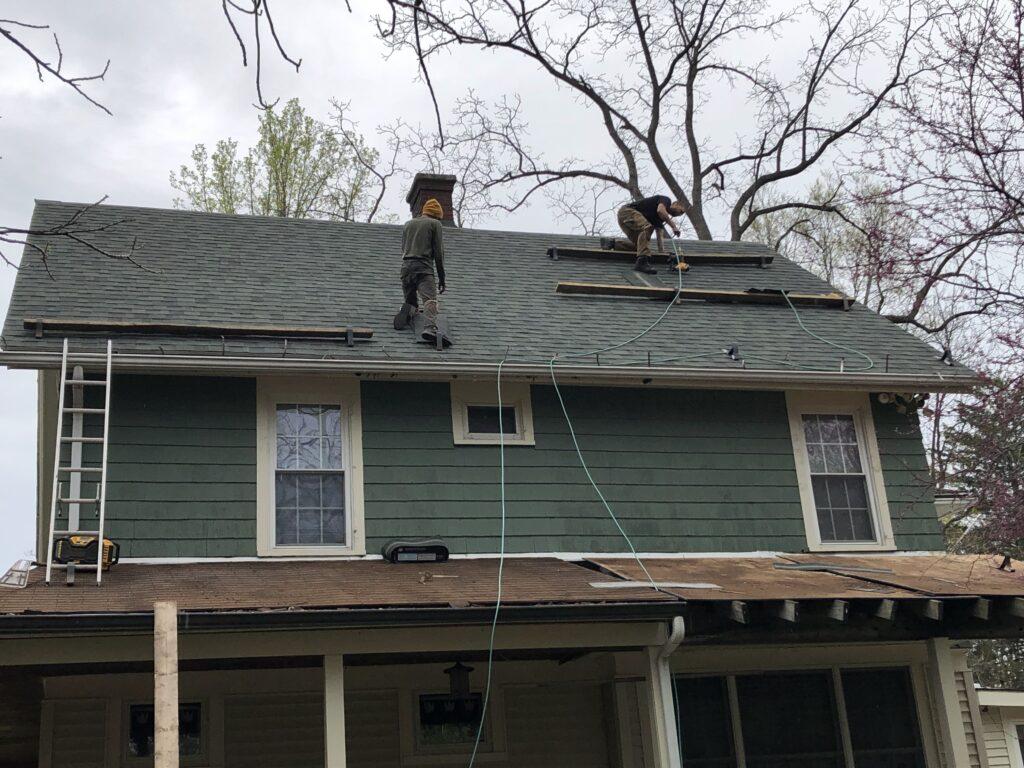
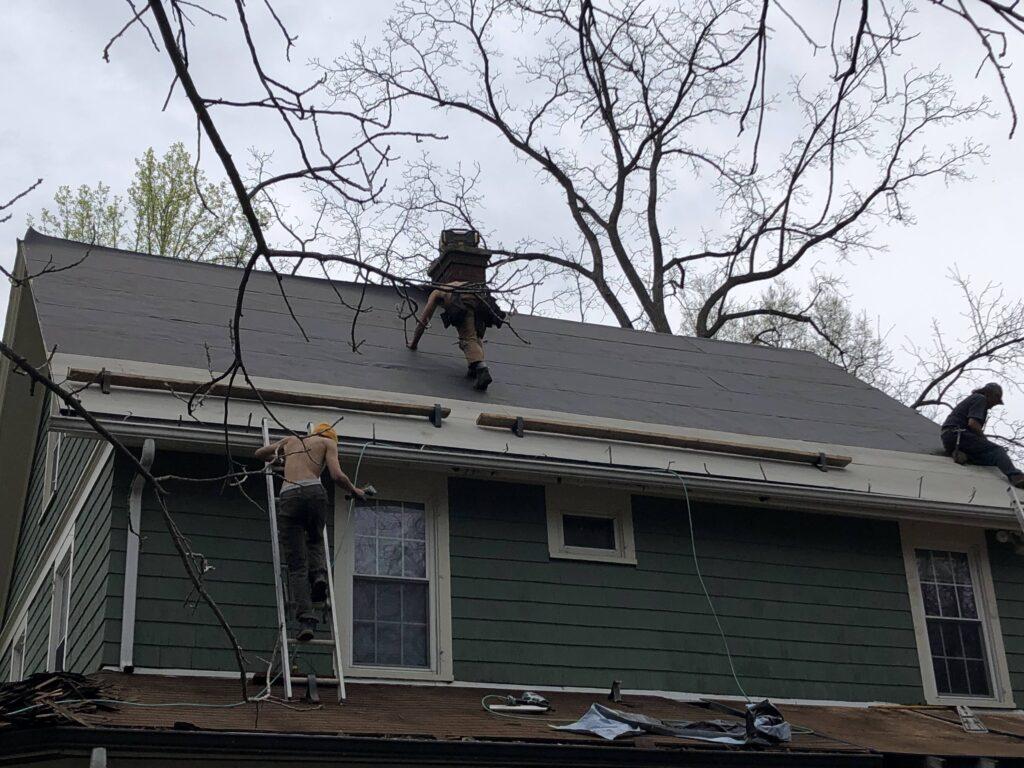
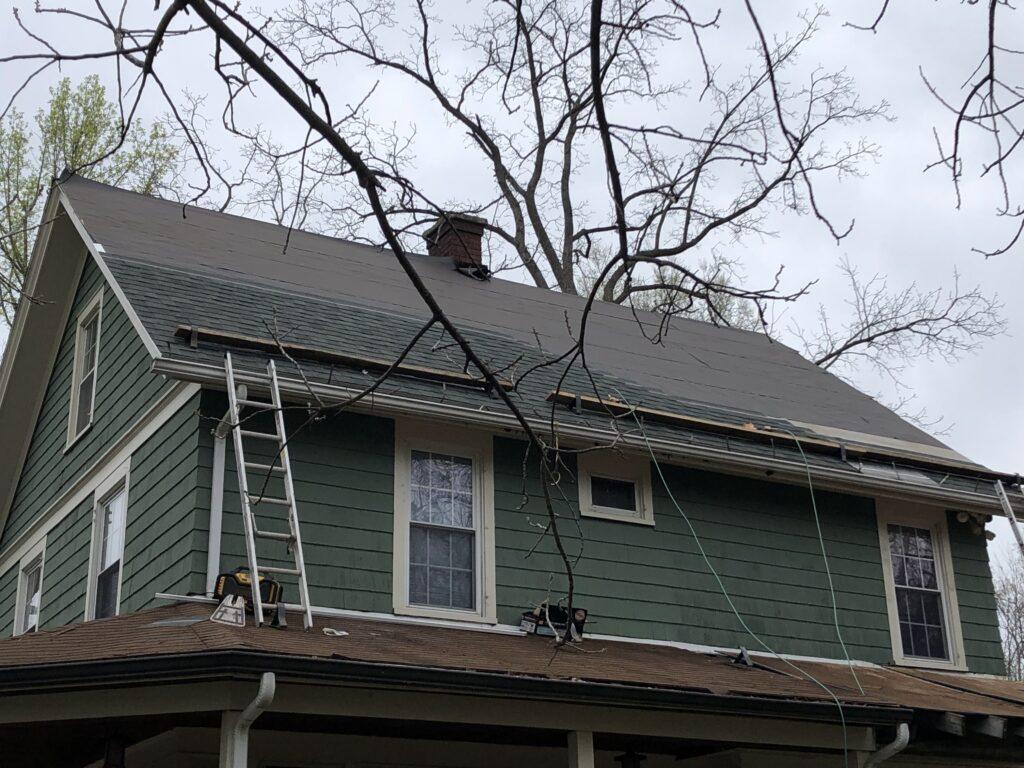
This year I fulfilled a personal project of installing solar on my house. A few years back I installed solar on my garage. The house project started with replacing the roof. The roof had 3 layers of shingles one of which was the original cedar shakes. The south side had 2 roof box vents and the cast iron vent stack for the septic. I wanted to maximize the area I had so I had them add a ridge vent as I would not need the box vent and they would be in the way. The septic vent was going to be fun to deal with. While they were on that side of the roof and working the tear off I ran out to rent a cast iron pipe cutter and would deal with running a PVC vent later. Once I cracked the pipe the main roof guy was very helpful and hauled the pipe out and tossed it down. The old vent can be seen in the first photo.
Please read on and any feedback is welcome also please let me know if you have any questions! Leave a comment below or email me via the contact page or social media. Also, I have no problem chatting and helping you evaluate your own house as if it’s right for solar. I am not a solar installer and don’t pretend to be one. I like big projects and challenges and a secret mantra of mine is if someone else can do something so can I just need the understanding. One of my favorite scenes from the movie Time Bandits with a spectacular delivery by David Warner
First, is Solar Right for You?
The most important thing is to understand the financials of solar. The return on investment or ROI will vary depending on the price per kWh and the cost of your installation. Along with your kWh consumption. To get the cost per kWh add up all the components of a per unit charge. The monthly charge is unfortunately a constant and has to be realized as the connection to backup power. The connection to the grid is still cheaper than the cost and maintenance of batteries. If the price of batteries drops then perhaps it would be worth the investment. The other factor is that in the Northeast the winter sunlight is limited and compensating by adding panels would not be cost-justifiable. In my case I was my own labor so I saved a substantial amount of money. My ROI is approximately 5.5 years.
Research and Prepare to Install
Solar panels can be a great way to reduce energy bills and take some of the burden off the environment. If you’re interested in installing solar panels for your home, our guide provides all the essential knowledge you need to get started, from understanding what equipment you’ll need to find installers who will properly do the job. There are plenty of videos on YouTube about how to physically install panels however I wanted to share more of a high-level project overview rather than a how-to.
Before beginning the installation process, do your research on solar panel installation to gain a better understanding of the process. Understand the various types of materials necessary for installation and take note of local regulations or requirements you may need to follow. Additionally, prepare your home for solar panel installation ahead of time to ensure a smooth and efficient process. Clear clutter around your roof or walls where the panels will be installed and have any necessary permits ready before installers arrive.
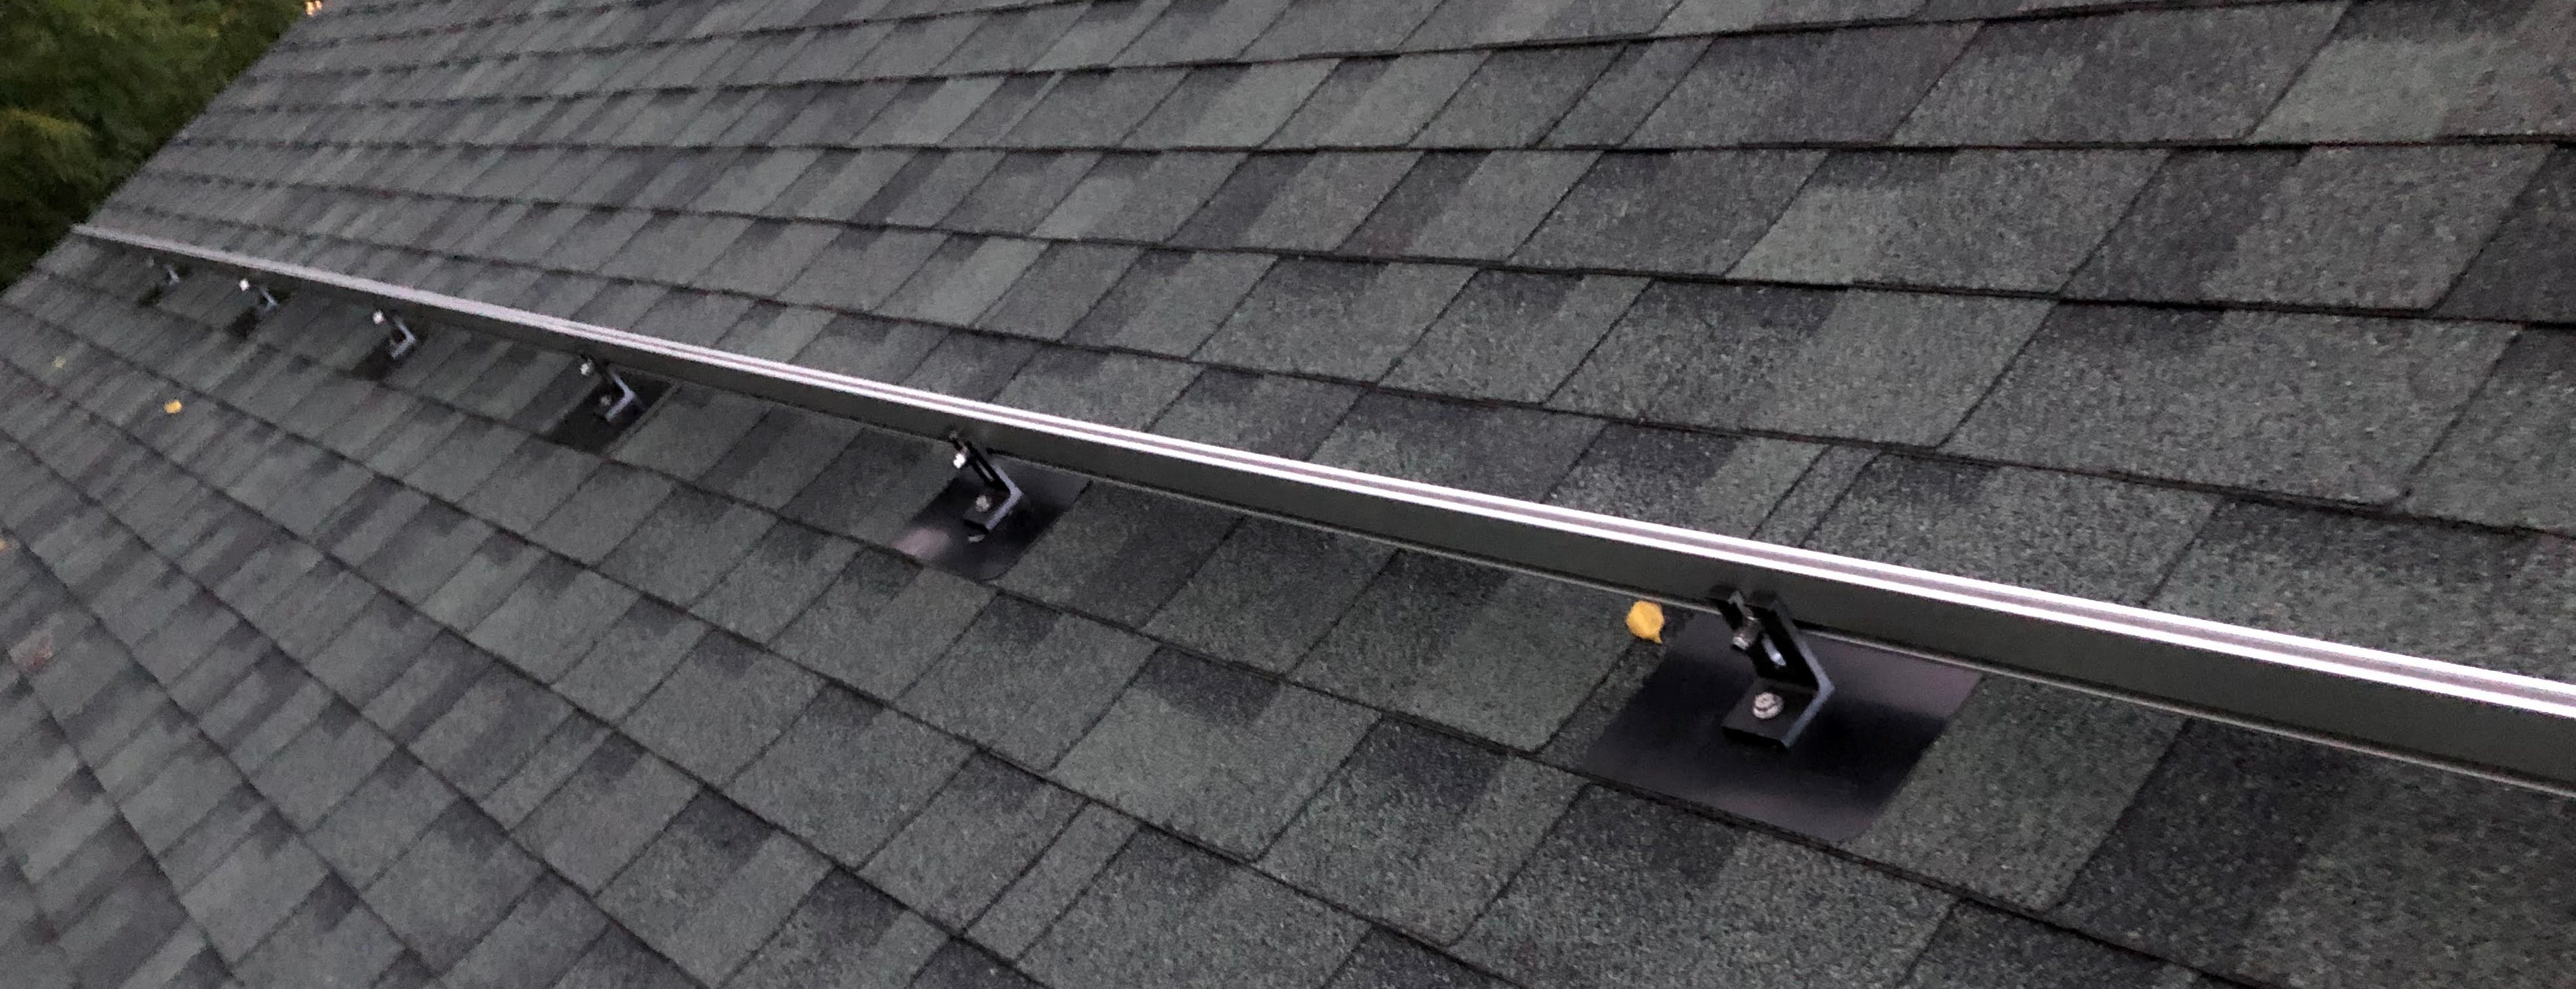
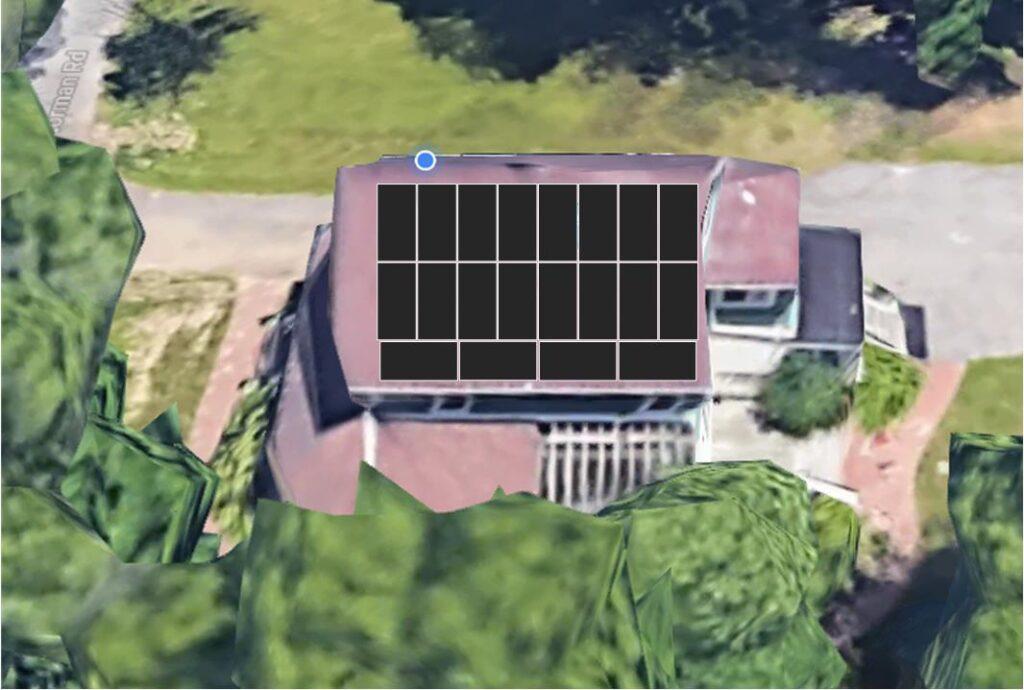
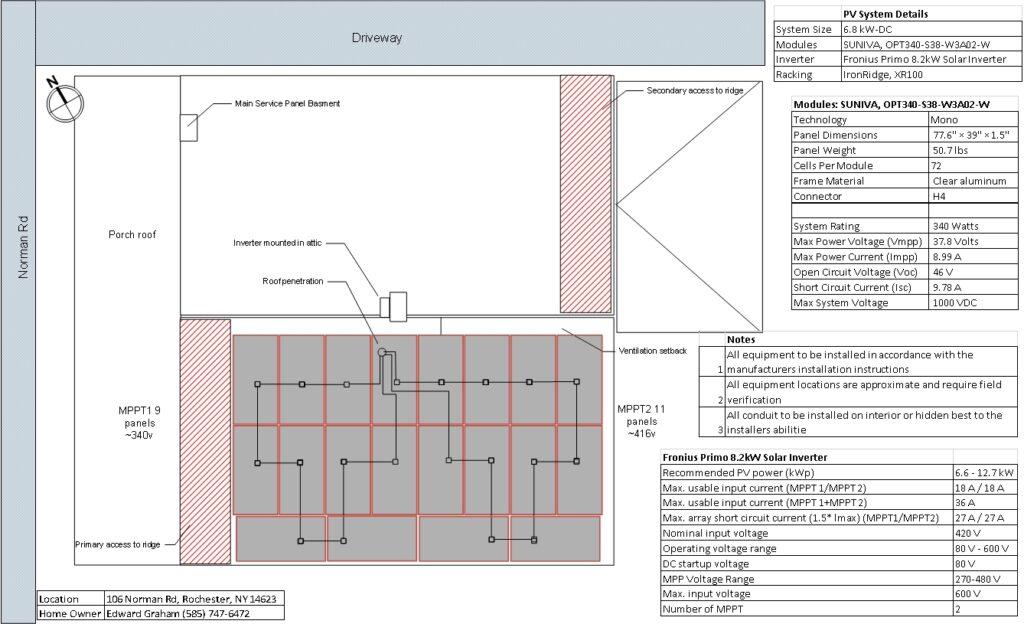
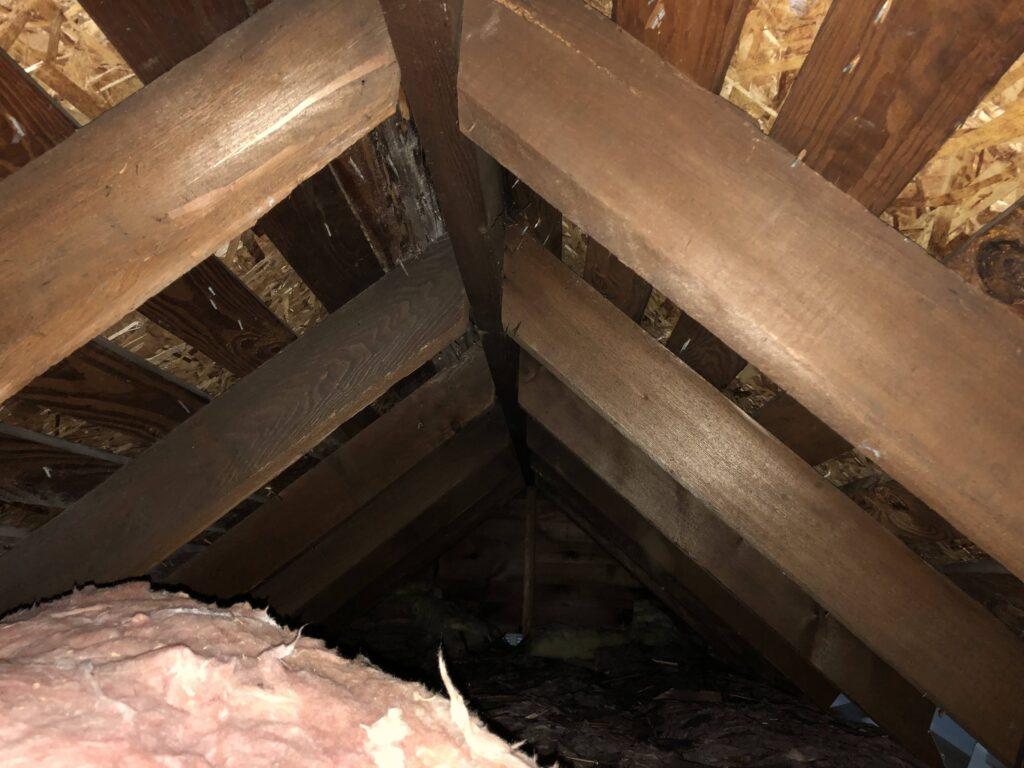
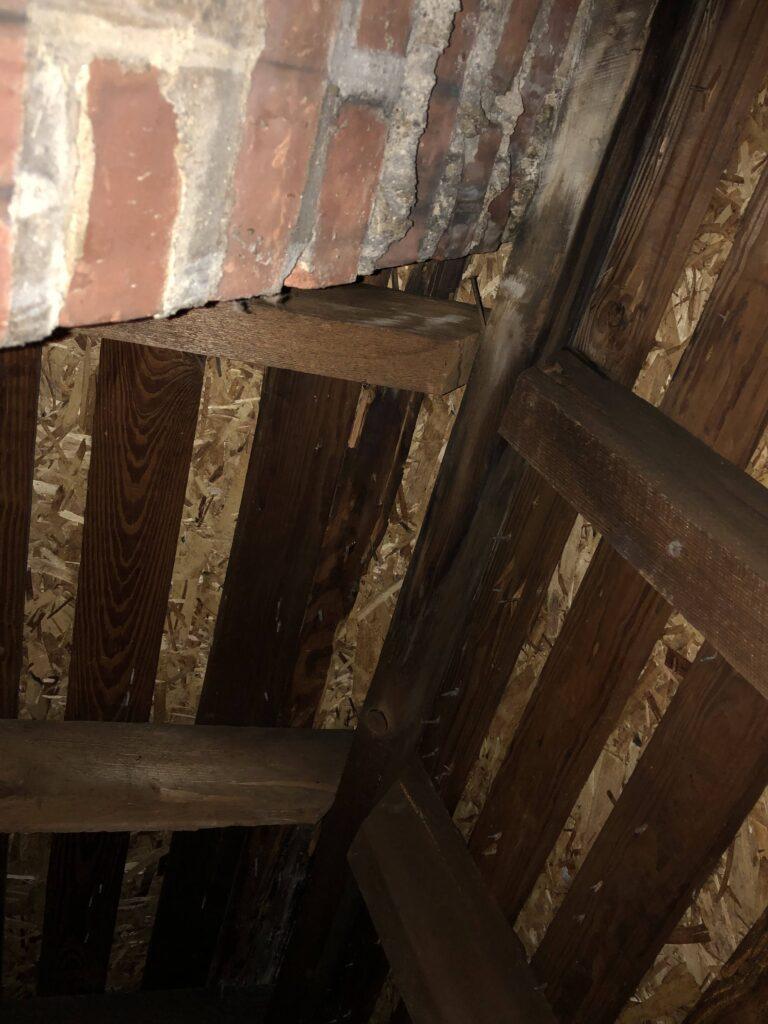
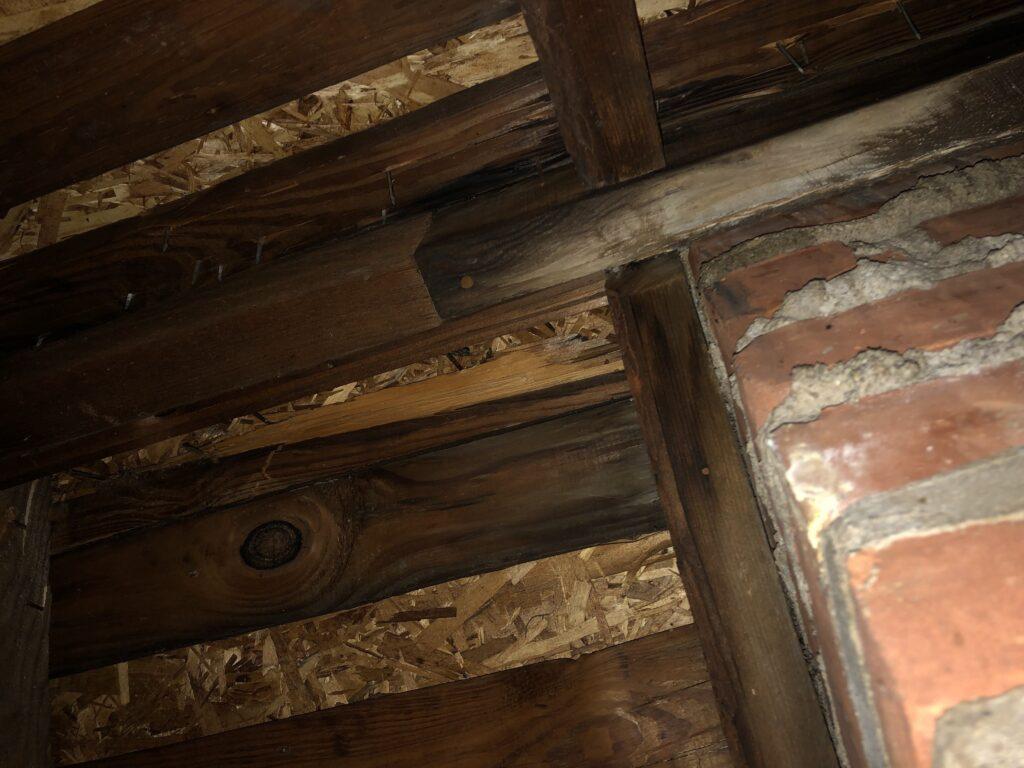
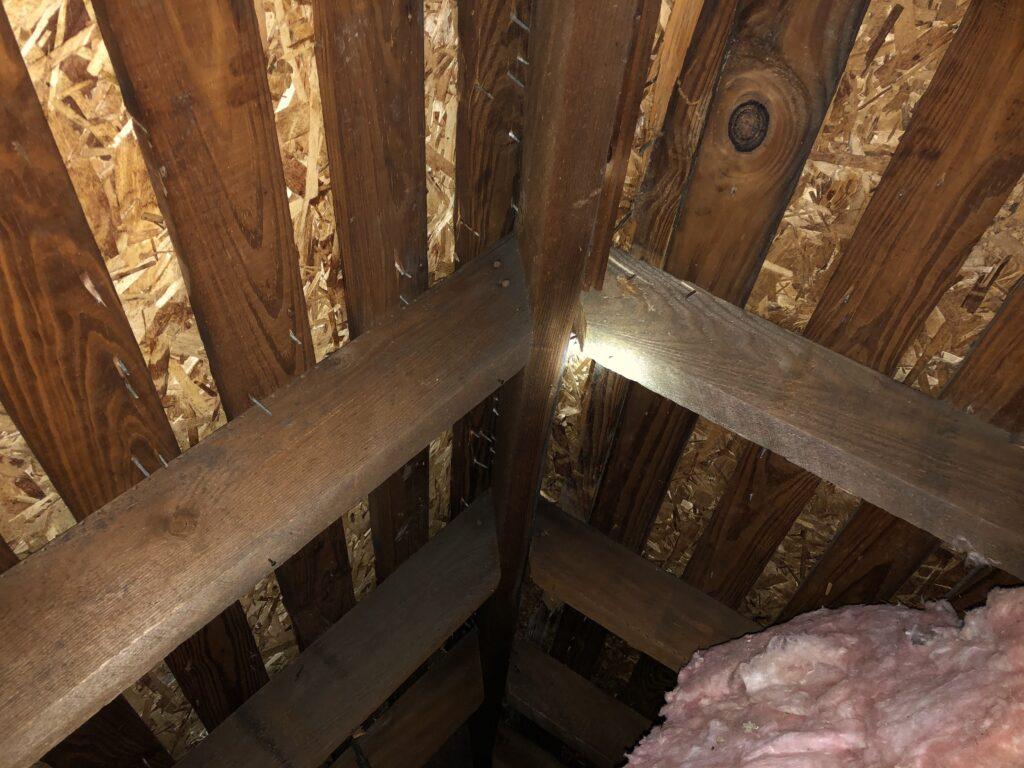
Once the roof was completed I started hunting down components and worked on the design layout. Using Google Maps Visio and a laser tape was invaluable. The house roof rafters were not 24 inches apart they were about 21 inches. I was obsessive-compulsive about the roof as I just spent a good amount of money on a roof and it looked great however I had to now drill holes in it to mount the panels. Working in the attic using a laser level and laser tape I verified all my measurements multiple times until everything matched in Visio and on the house.
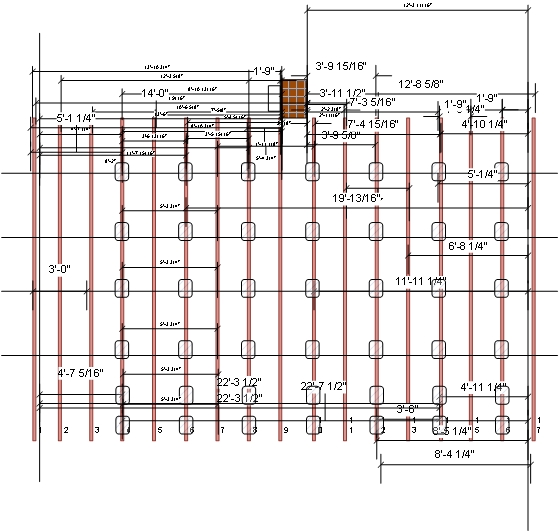
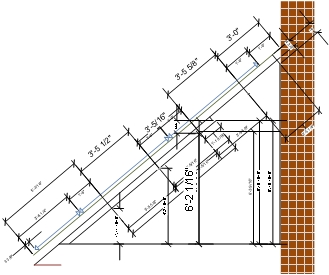
I needed to get super accurate measurements as to where the rafters were located. I cut a hole in the sheetrock as I would need to run the flex conduit to hold the DC cables to the roof.
The hardware
The Hardware
Choosing the Solar Panels
Deciding on the type of solar panel you would like to install is a crucial part of the process. Different types of solar panels are designed for various roof types and weather conditions, so make sure to factor that into your decision. Research each type to find one suited to your home’s roof size, angle, and climate. Additionally, consider determining if you prefer monocrystalline or polycrystalline panels based on their average lifespan, efficiency, cost, and aesthetics.
Take your time and shop there are a lot of panels that are new however the manufacturer has gone out of business because of politics. I found a place in Florida that had the Suniva Optimus 340 new with no warranty for less than half the price of similar new panels. Panels are built to such high specifications and manufacturers do not want to have ever to replace panels so the failure rate is extremely low. There are also a lot of used panels on the market that have many years of life left. The key is to pick quality high-wattage panels. There are essentially 2 types of panels a double vertical stacked panel which I call a commercial panel. These are panels that you would more likely see on large ground installations. The single panel with 72 or 96 cells is best and I went with monocrystalline. The higher number of cells the more expensive the panel and the higher the power output. Understand your cost per watt as this will help you understand your costs and enviably your ROI.
Choosing the Inverter
When installing solar typically the easiest way to wire up an array is using a string inverter. Solar panels are DC and they essentially act like batteries. The inverter will draw off the current from the panels and convert it to AC matching the grid frequency and increasing the voltage a small amount so as to “push” the electricity to your house and any “overflow” will go to the public grid. This overflow is called net metering and will make a mechanical meter spin backward however the local utility will add a digital meter that will record or tally both the push and pull power.
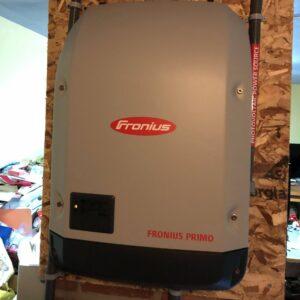
I wanted to go with a Fronius Primo 8.2 as I had enough area to do at least 6000w and my scripts to graph the output would work with very little modification. Again I found a price that was less than half the average going price from a warehouse in Texas.
*If you are curious the electrons don’t go that far. The excess power that is pushed to the grid as electrons typically do not go past the transformer as the pressure on the supply side of the transformer is at a minimum double the downstream strings (or what goes to your house also called the mains) voltage. The power is fed into your neighbors’ homes or the homes that are on the common downstream strings of the transformer.
Roof Racking
The racking tools on the Iron Ridge design site are free and easy to use. In no time you will have a cost estimate and bill of materials. This is where I had a bit of a strange start. I started the layout using the standard 24″ spacing for roof rafters. My spacing turned out to be about 22 inches. not a show-stopper by any means.
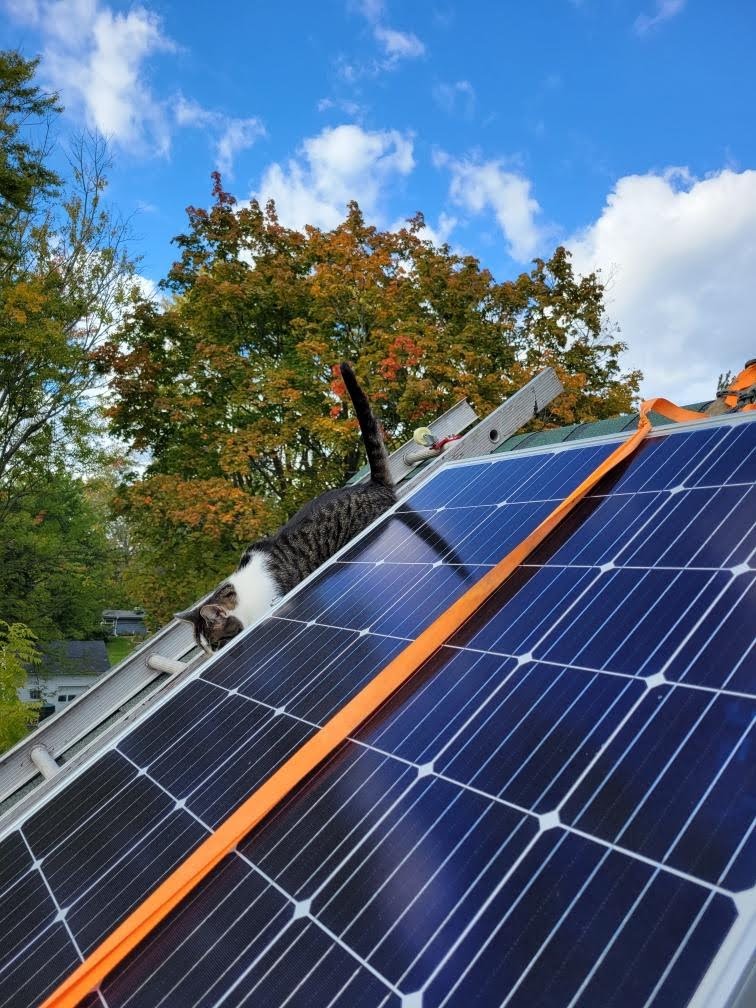
I also chose to use horizontal racking which overall is cheaper when going with vertical positioning of panels as there is less racking needed. However, aligning the panels is extremely difficult without some sort of jig or scaffolding to set the panels on so they are level or perpendicular to the roof. I built my own scaffolding and aligned it with ratcheting tie-downs from Harbor Freight. This made everything go much faster as I could get the panels up onto the roof and then spend time aligning and securing them.
Monitoring
Click here to see live solar generation stats. Home Solar Monitoring System: Main Roof
In the End
I learned a lot and had a lot of fun with this project. Mostly I learned to use the free tools available to everyone. If you have the energy, the know-how, and are not afraid of heights then I encourage any and all to give it a go.
